Step 1 of 5
What are you working with?
Your tank and experience set the scale, plant difficulty, and stocking limits.
Technology Level

Low-tech (Walstad)
Nutrient soil substrate · no CO₂ · hardy low-light & floating plants · self-balancing · minimal maintenance

High Tech
Pressurised CO₂ · intense light · active substrate · precision dosing
Experience Level
This tailors plant choices to your skill — even a high-tech tank shouldn't start with the most demanding species.
Beginner
Hardy, forgiving plants that are hard to kill. Great for a first scape.
Intermediate
Comfortable with trimming, dosing and a regular routine. Adds moderate plants.
Advanced
Experienced with demanding species like Rotala macrandra and Tonina.
Choose a visual direction
Pick one composition. Materials will be curated to match it.


Choose your stone & wood
Pick the stone and wood for your scape — choose one or more, or mix your own combination.
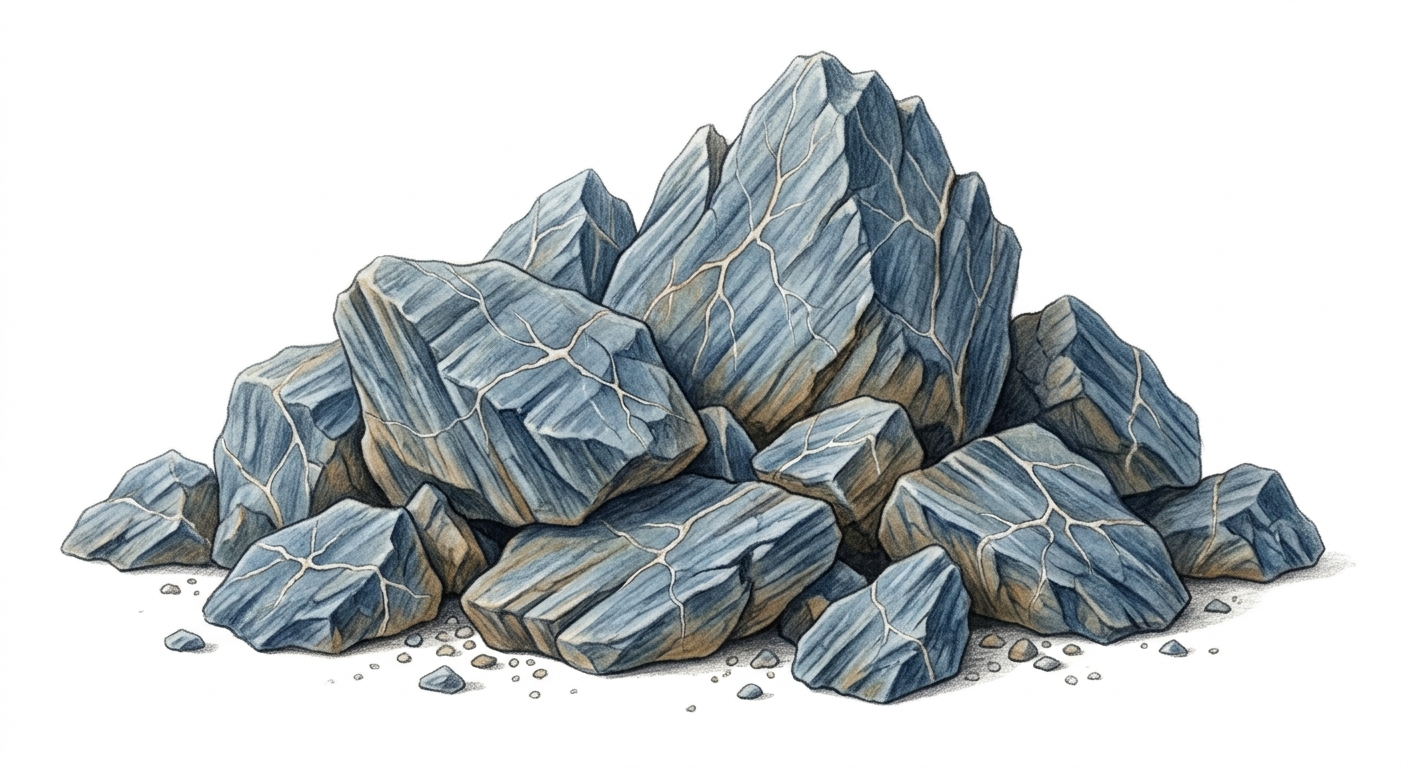
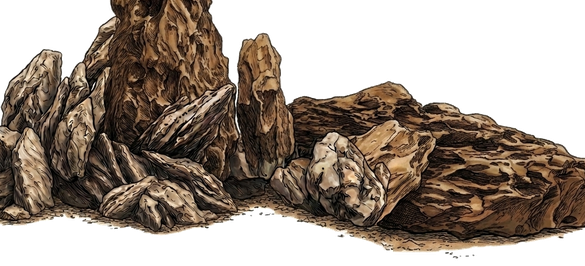
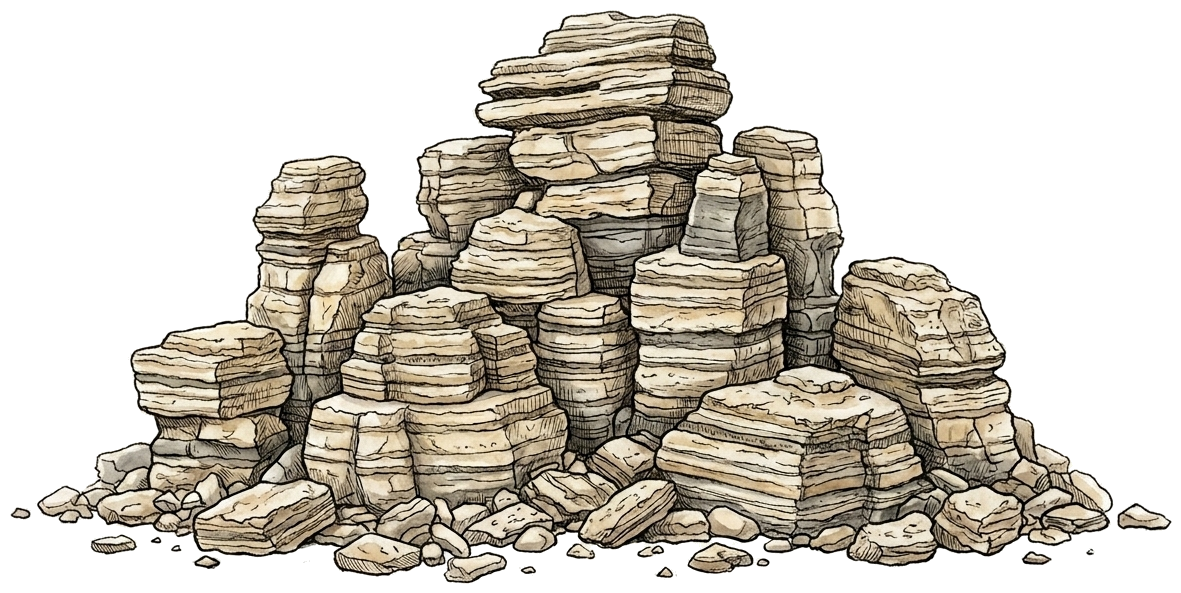

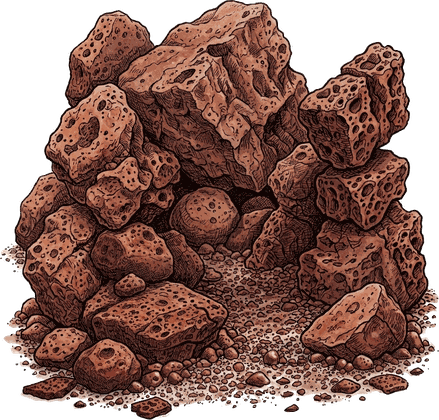
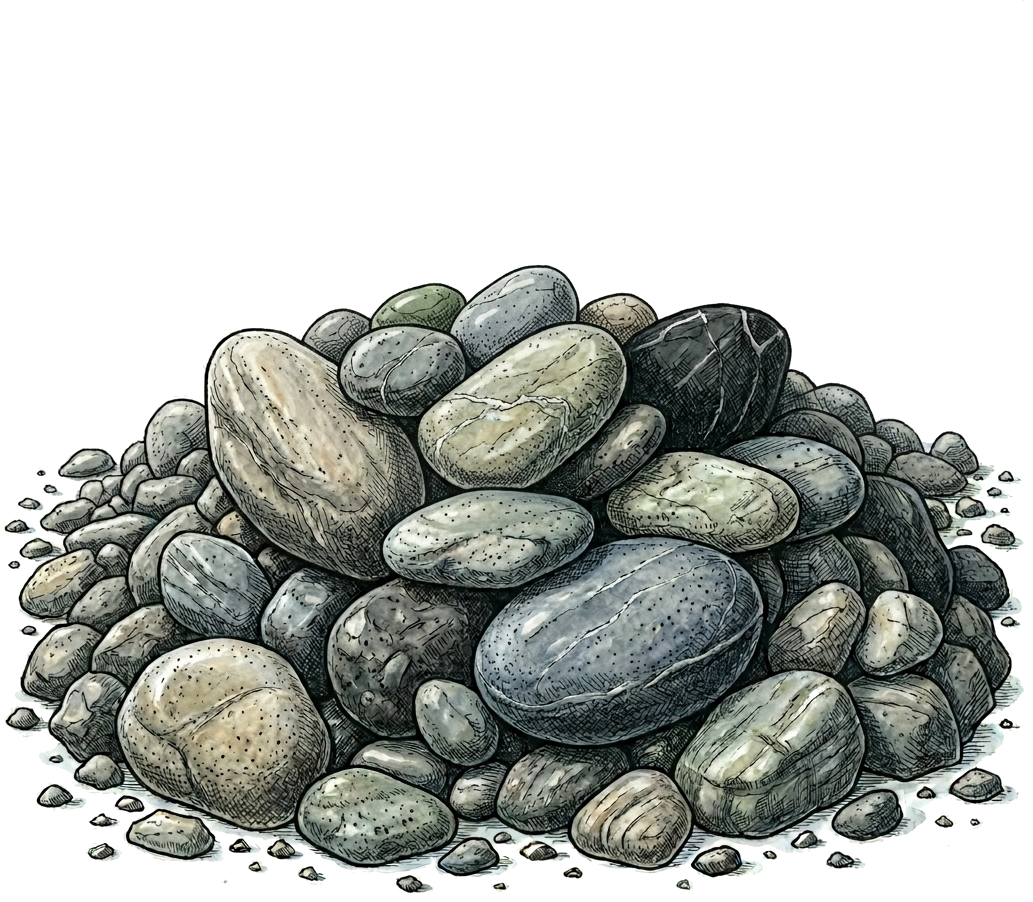
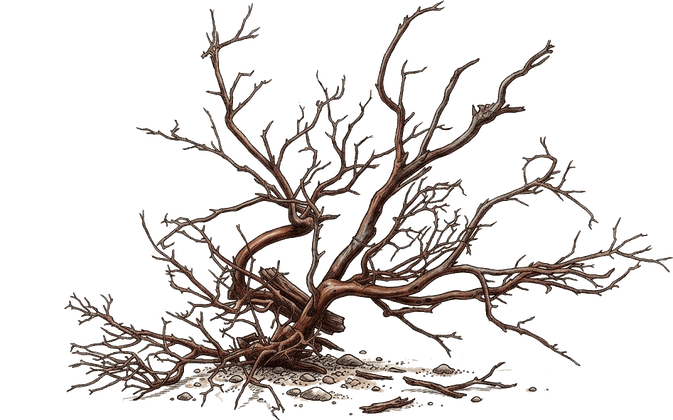
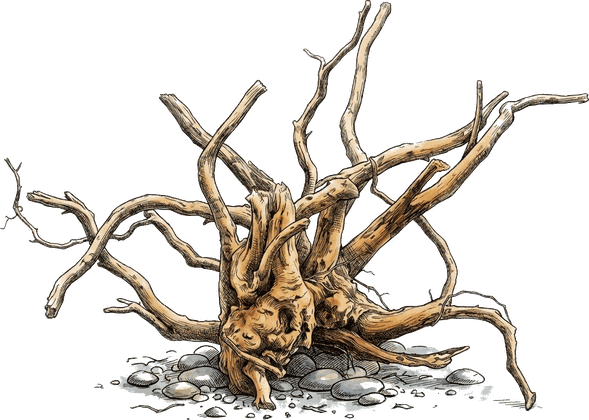
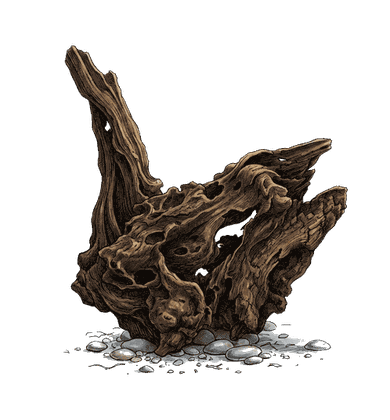
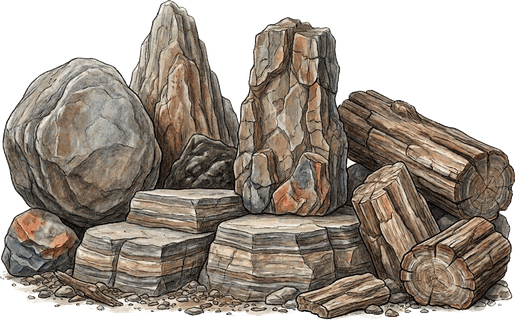
Select one or more materials
Who lives here?
Choose any groups you like. Leave it open for a compatible recommendation; conflicts pause as you build.
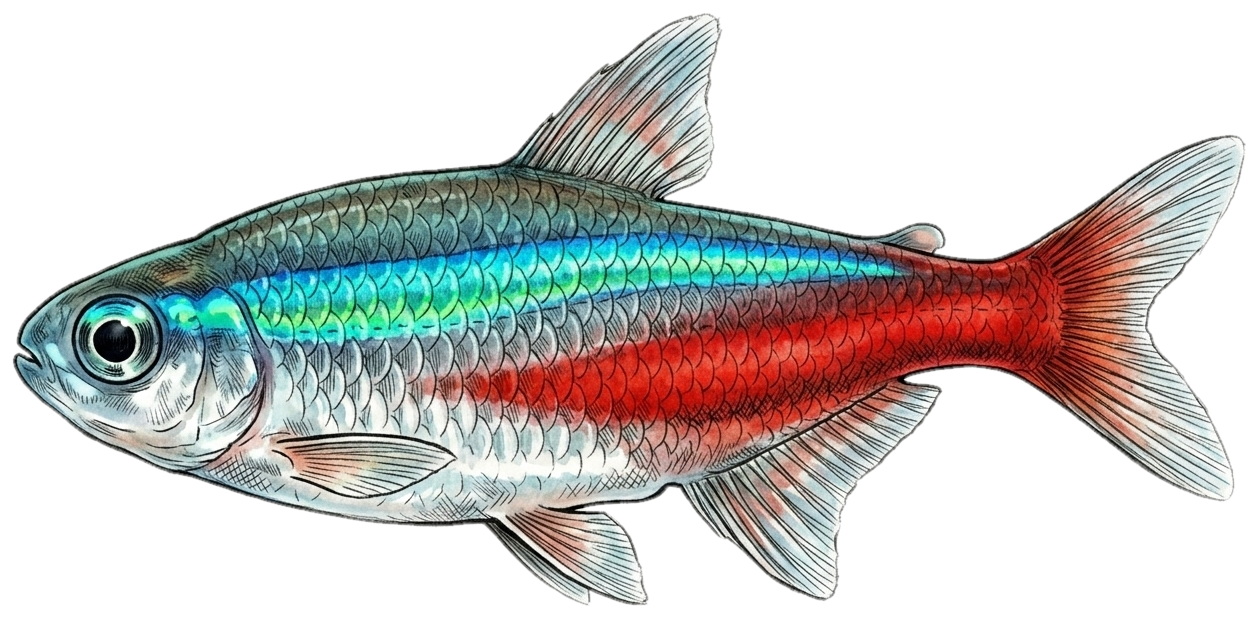
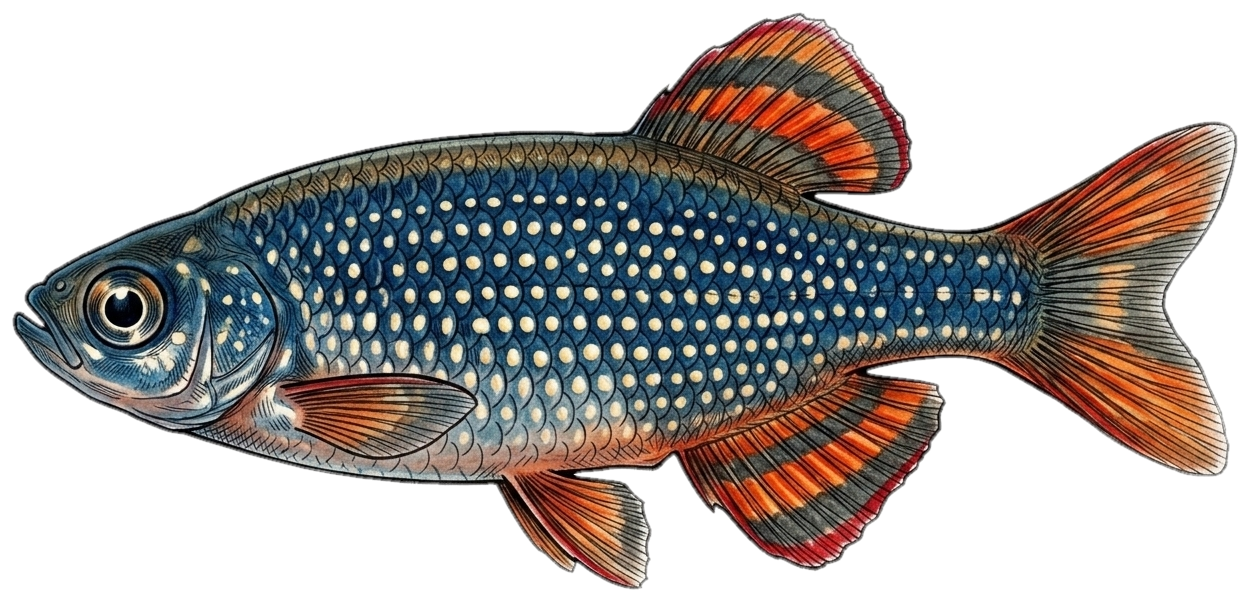
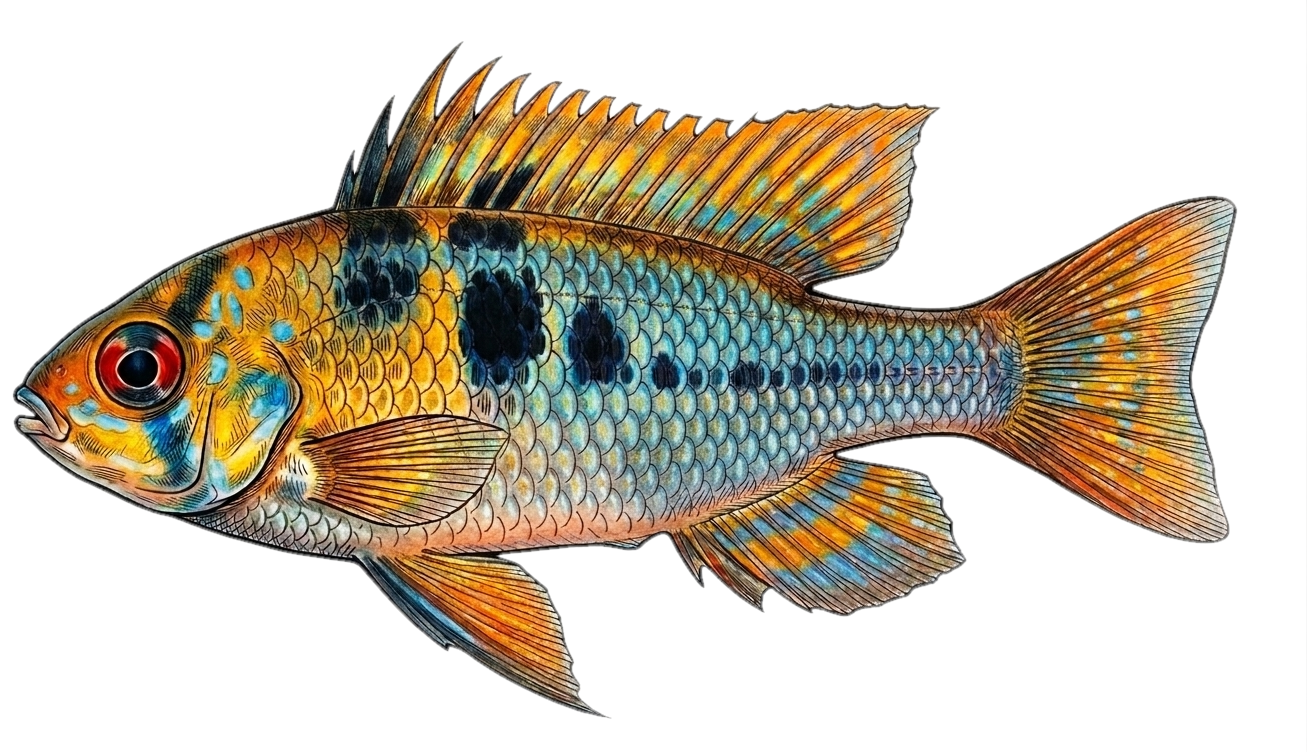
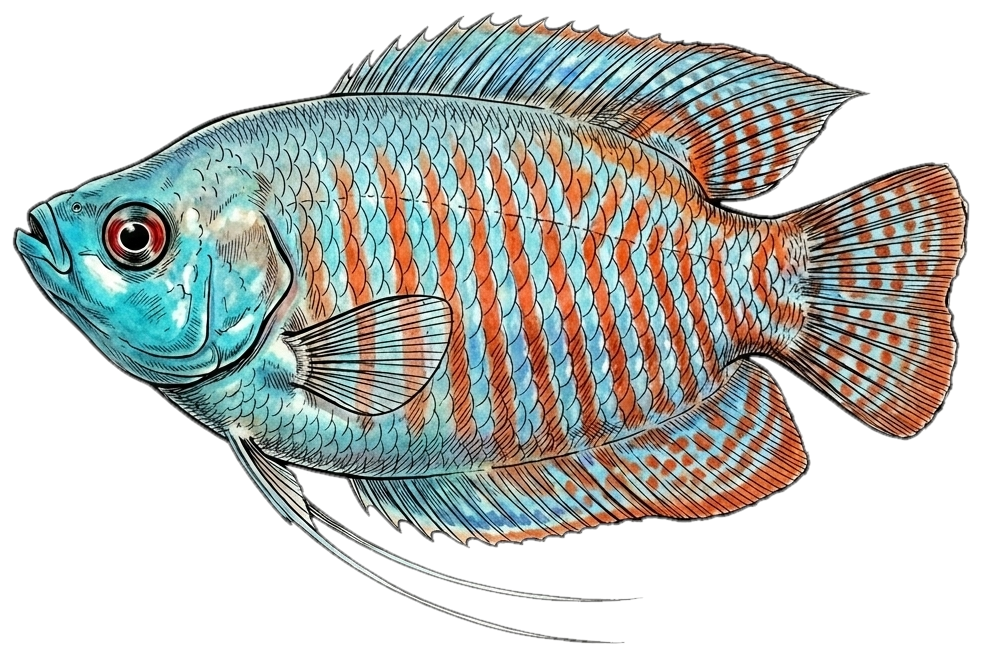
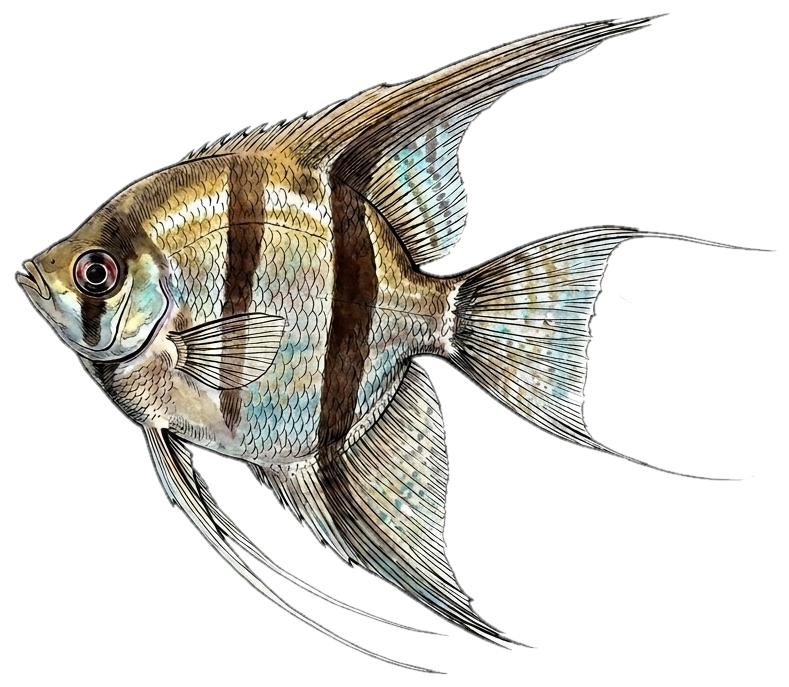
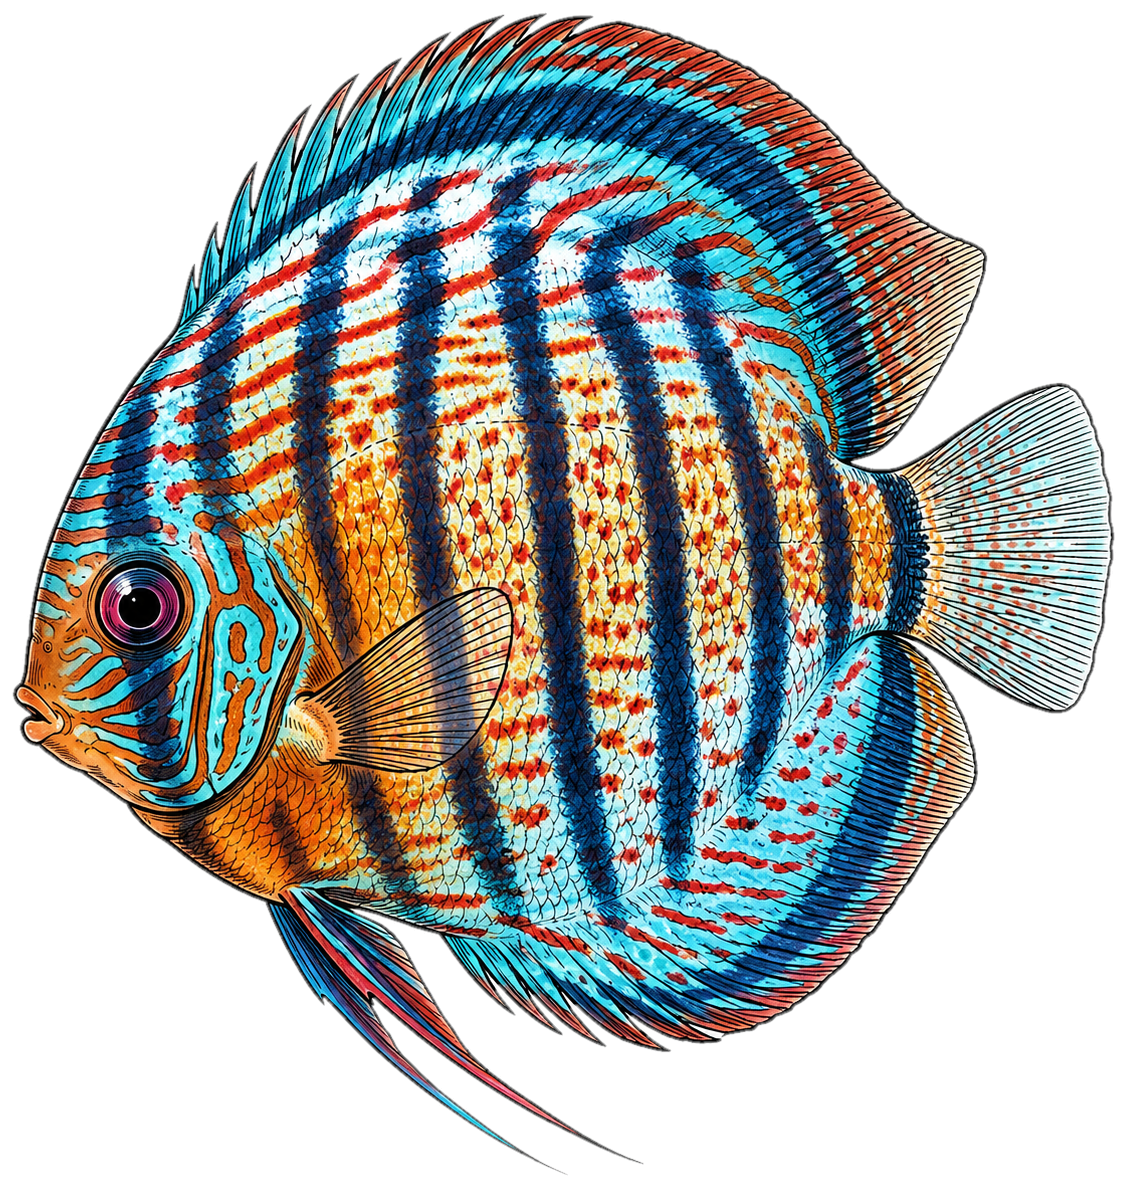
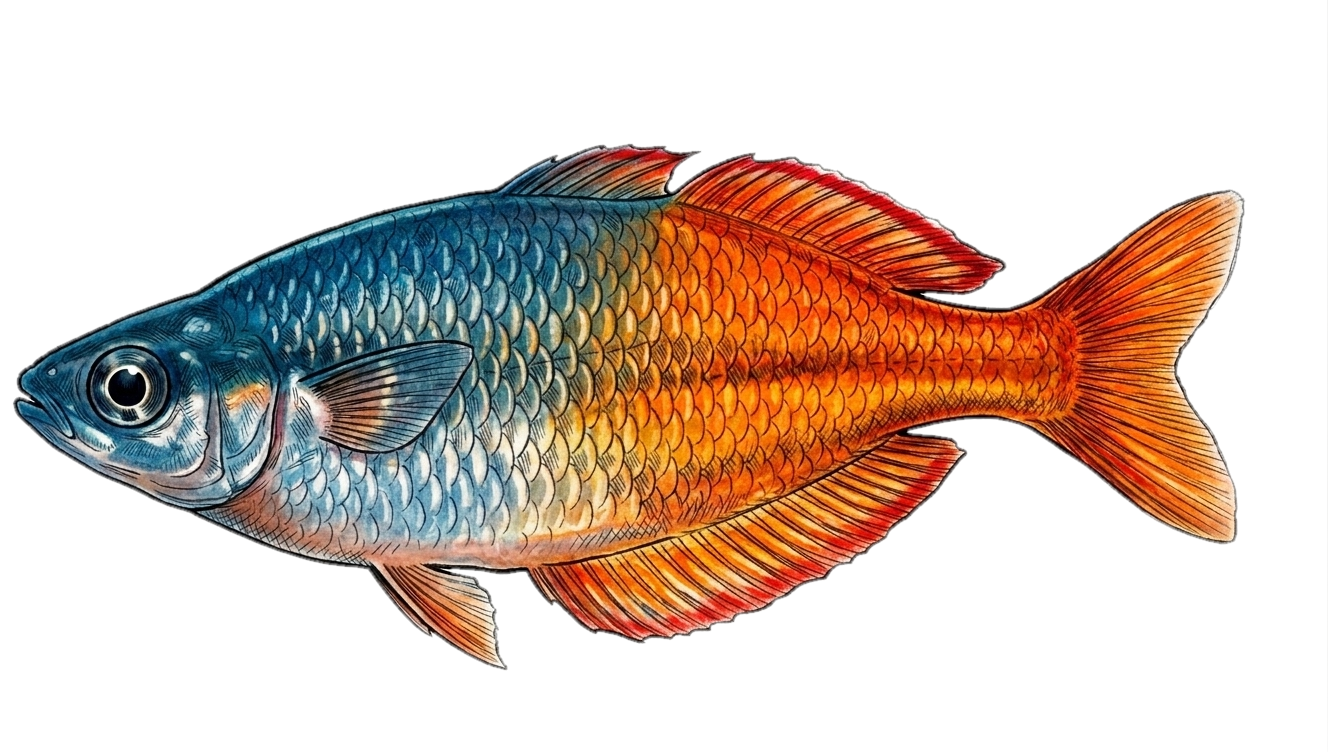
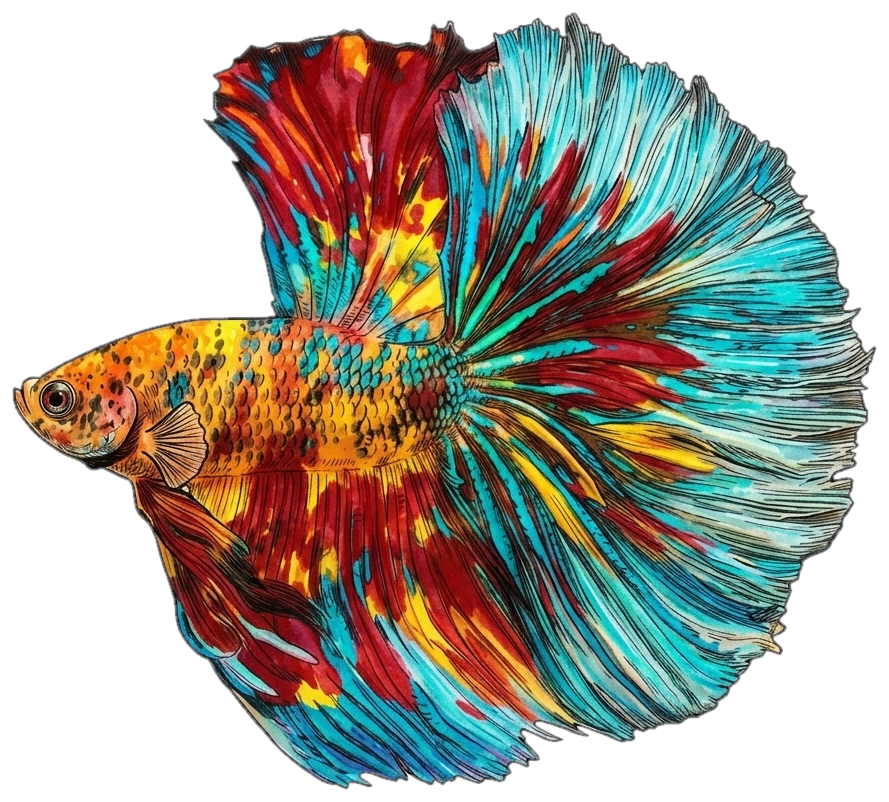
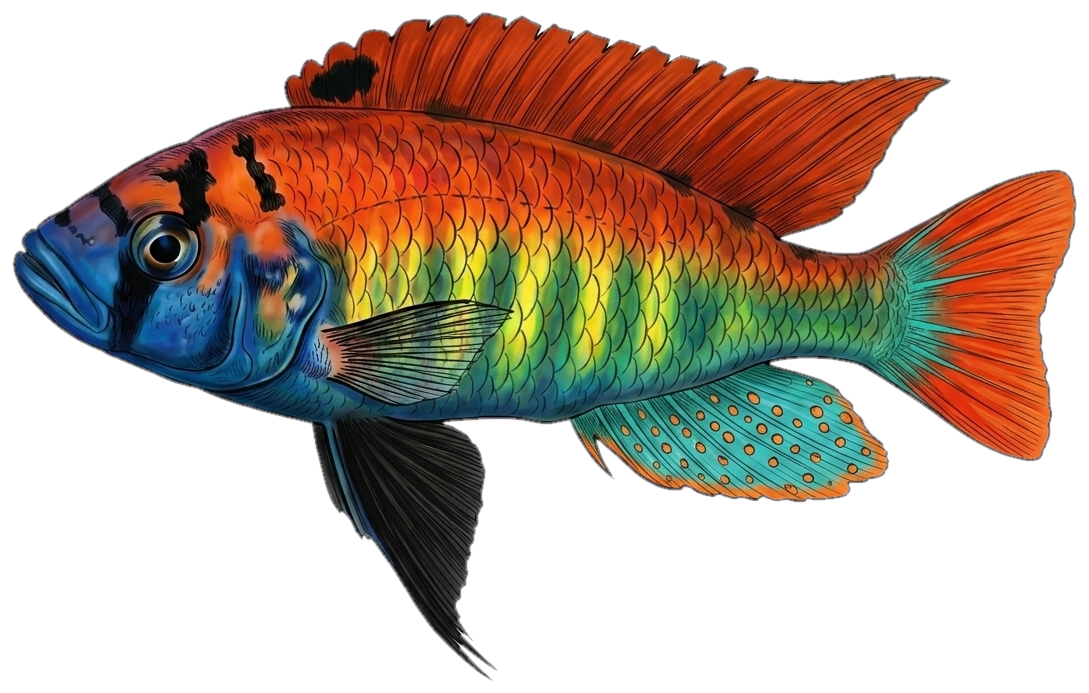
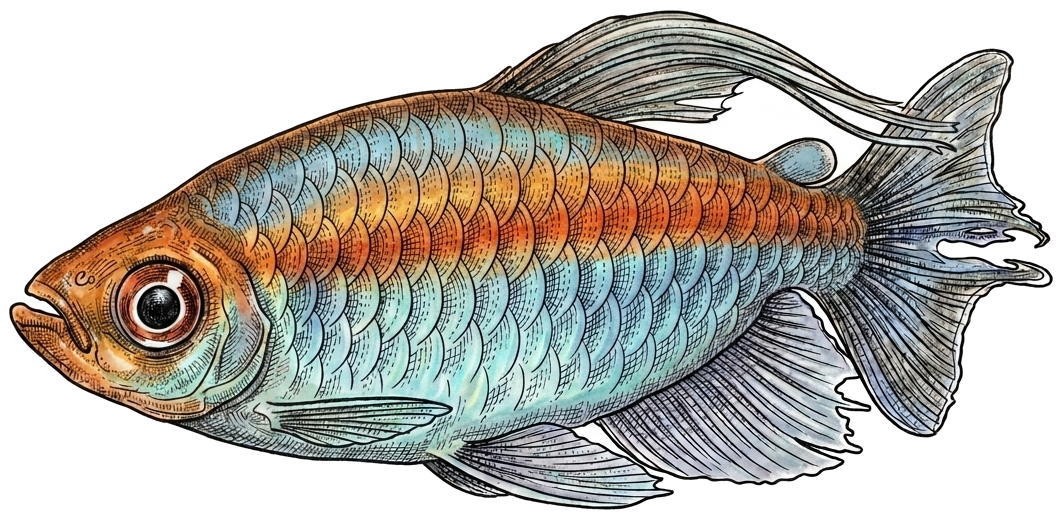
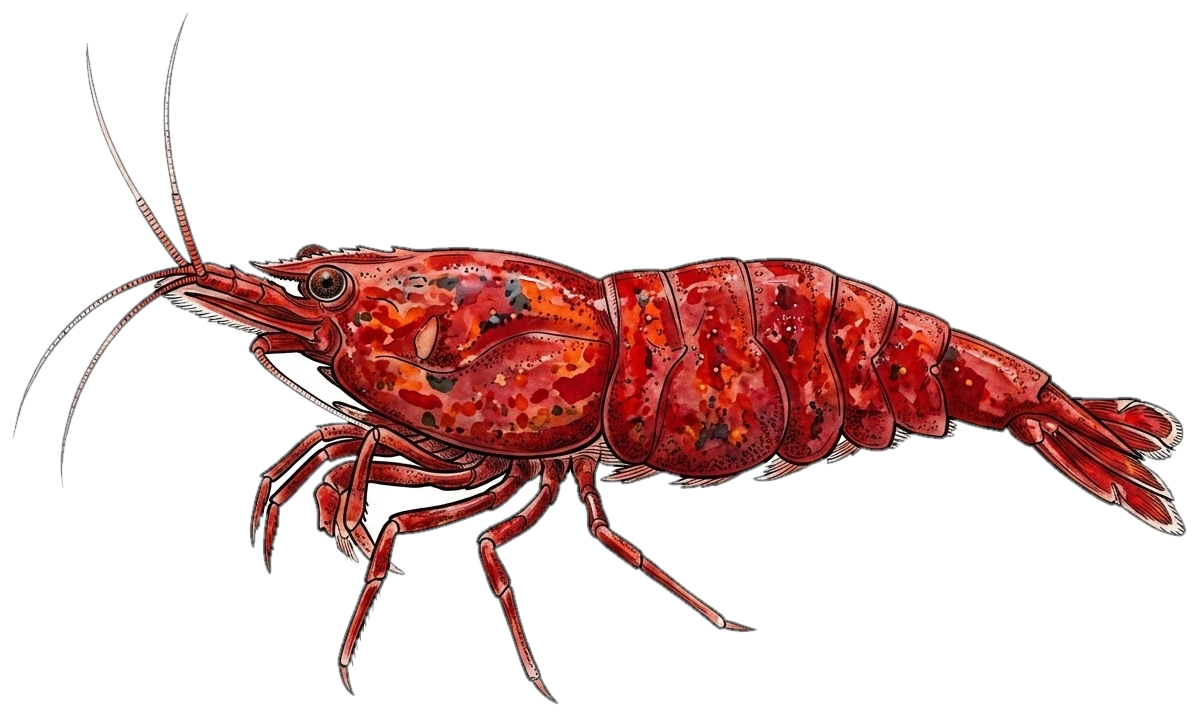
No livestock selected
Set the mood
Choose a palette and add anything the design must include or avoid.
Composing your aquascape…
Your design brief
Your Aquascape Design
Your aquascape illustration will appear here.
Like part of this design? Use the Lock buttons on the sections below — locked sections stay exactly as they are when you regenerate.
How's this design?
Get your plan + a step-by-step build guide
We'll email your full design now — then guide you through it (hardscape, planting day, cycling, adding fish) timed to how your tank actually comes together.
Before You Begin
Follow these steps in order. Skipping steps — especially cycling — is the most common reason beginners lose their fish.
-
1Source your plants, hardscape & equipmentUse the plant list and equipment guide below to gather everything before setting up. Having it all ready makes the process much smoother.
-
2Set up your tank & hardscapeAdd substrate, place your rocks or wood, and fill with dechlorinated water. Do not add fish yet.
-
3Plant your aquascapeFollow the placement diagram below. For rhizome plants like Anubias and Java Fern, tie or glue them to hardscape — never bury the rhizome in substrate or they will rot.
-
4Cycle your tank — this step is non-negotiableA new tank has no beneficial bacteria to break down fish waste. Adding fish to an uncycled tank almost always kills them within days. You have two options:Either way, test your water with a liquid test kit before adding any livestock. You need ammonia = 0, nitrite = 0, and nitrate below 20ppm.
-
5Add fish slowlyStock your tank gradually — add a few fish, wait two weeks, test the water, then add more. Never add your full stocking list at once. Float the bag for 15 minutes before releasing to equalise temperature.
-
6Maintain weeklyChange 25–30% of the water every week, vacuum the substrate, and trim plants as needed. Consistent maintenance is the key to a healthy tank long-term. See the Care & Maintenance section below for your specific schedule.